
Upload drawings
Add drawings, specifications and addenda to a Project.
MillOS estimates from the files in your Project. Drop the whole bid package in: drawings, the specification book and addenda.
Three ways to add files
When you create the Project. The second step of New project takes your files.
From the Project's Files. Open the Project's Files and choose Add to Uploads. You can also drag files onto the list: an overlay reads Drop to add to Uploads.
From a Chat. In the composer, choose + (Add to this message), then:
- Upload a document to pick a file from your computer.
- Add context to attach a file that is already in the Project. Use it in a Chat inside a Project.
Which files you can add
In a Chat you can attach images, PDFs, text and CSV files, Markdown, Word documents (.docx) and Excel workbooks (.xlsx), up to 1 GB each.
Follow your uploads
An upload panel appears in the bottom right corner while files go up. It shows Uploading with a count, a percentage for each file, and Done when a file is in. Use the arrow to collapse the panel, or Close uploads when everything has finished.
Where files go
A Project keeps its files in three places:
- Uploads: the drawings and documents you added.
- Deliverables: the finished files MillOS publishes, such as the workbook and proposal.
- Working files: MillOS's intermediate work, shown under the name of the Chat. Choose Show working files to see them and Hide working files to put them away.
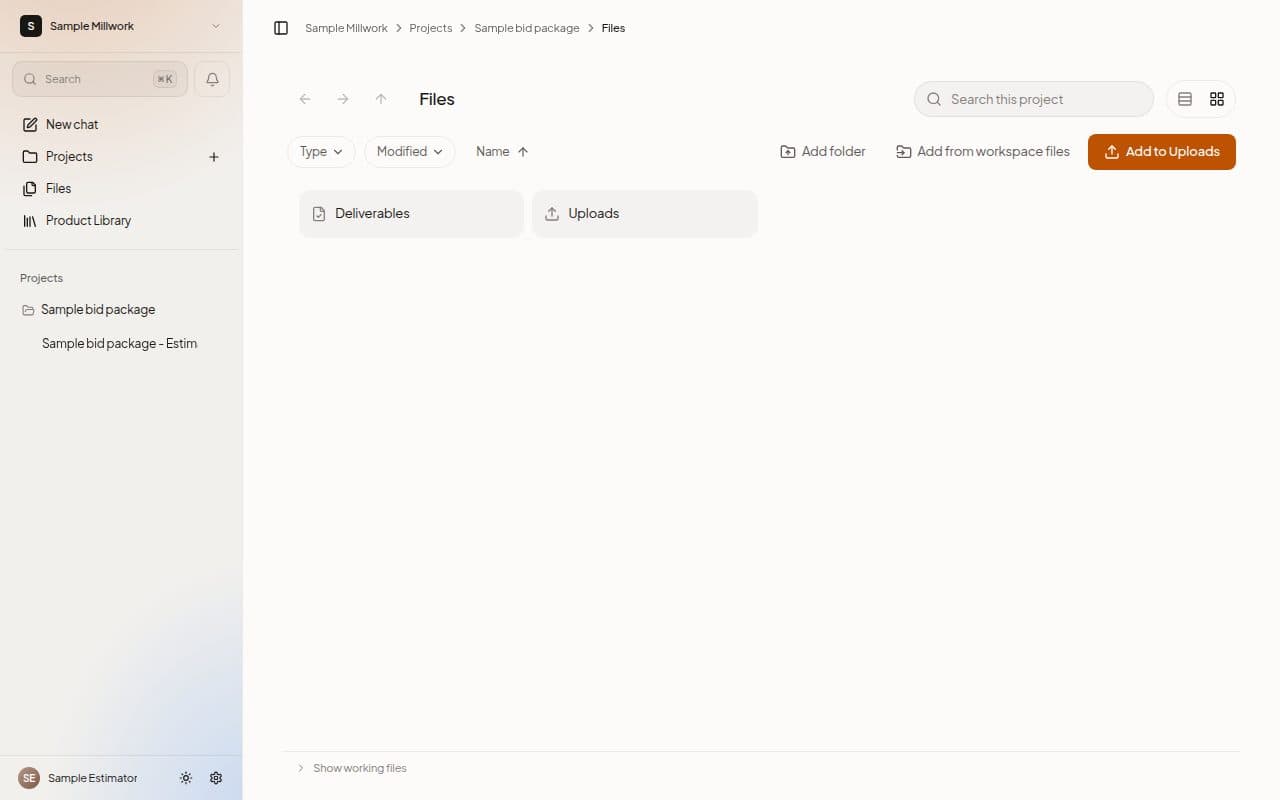
An empty Uploads folder invites you to drop in the bid package: drawings, the spec book and addenda.
Next steps
Last updated on